
Coach Tip: This is a handy tool for you to use while reviewing students’ comments on the Metrics page.
Student Tip: You can save a quote or copies of your comments to your list of highlights as you are completing activities in the path.
While working on your Path, you may come across something interesting or important that you want to flag for future reference. You have the ability to save text by using the Highlights feature. You can save a comment, a quote, or an excerpt from your Path.
The Highlights feature can be used in both the Metrics view, the View all Replies page and within the Path itself.
You can see your saved Highlights by viewing them on your personal Highlights page.
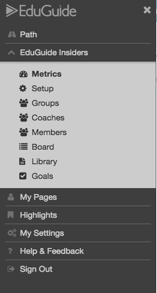
To access the Highlights tool, click on the main navigation menu in the top left hand corner of your screen.

Click on the Highlights menu
Creating and Saving a Highlight in Paths
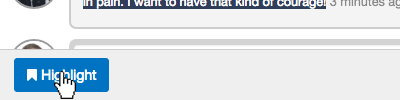
To add Highlights from your Path, simply select a block of text from an Activity and then click the Highlight button which will appear in the bottom left of the screen.

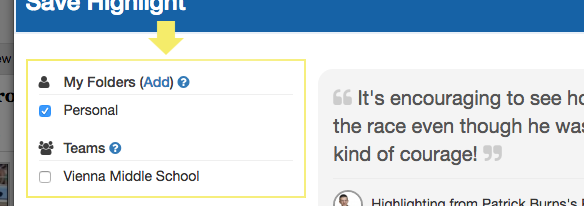
You will notice the Save Highlight modal comes up automatically with your highlighted text in quotations.
Select at least one checkbox, choosing the Folder where you want to save the text.
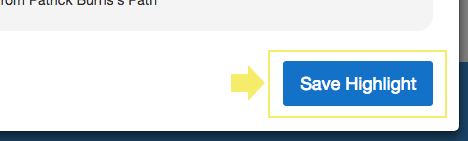
Press Save Highlight.

You can also add a new Folder by clicking on the word Add.
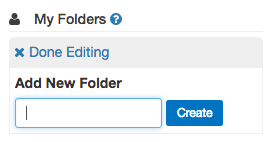
Type in the name of the folder. Press Create.
Press Save Highlight.
Creating a Highlight in the Metrics Page
Coaches can also create Highlights while they are reviewing and responding to students’ comments inside the Metrics page.
As you are reviewing a students’ responses to an activity, select the portion of the student’s comment that you would like to save as a highlight.
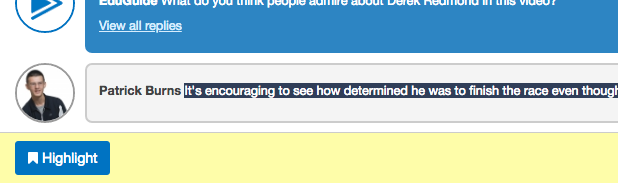
Click the Highlight button in the launcher bar to load the highlight tool.
Select at least one folder to add the highlight to.
Click Save Highlight to add a new highlight.
Sharing with teams
If you are saving a highlight of a student’s comments, you can only share it with a team which both you and that student belong to.
When you create the highlight, only the mutual teams will be shown.
Viewing Highlights
View a list of your saved highlights by clicking on the main navigation menu in the top left corner of your screen.
Click on Highlights


The Highlights page is divided into two sections: My Folders and Teams.
Any highlight stored inside the My Folders section is private and can only be viewed by you.
When you save a highlight under the Teams section, it can be viewed by coaches on that team.
My Folders
Everyone begins with a single folder called Personal under the My Folders heading.
Creating and Deleting custom folders
Creating a folder
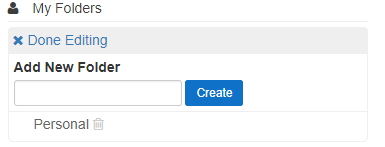
You can add a new Folder by clicking on the word Edit.
You will then be in the Edit mode.
Type in the name of the folder. Press Create.
When you are finished creating folders, press Done Editing.
Your new folder will appear at the top of the list of folders.
Deleting a folder
You can also delete a custom folder by clicking on the word Edit.
You will then be in the Edit mode.
Click on the trash icon located to the right of the folder’s name.
This message will appear, making sure you truly want to delete a folder and any saved Highlights in the folder.
Press OK to delete.

When you are done making changes, click on the Done Editing link to leave the Edit mode.

Any folders you’ve created in the Highlights page will be available in the list of folder choices when you Save a Highlight in the future.
When in Edit mode, Highlights can also be moved to different folders.
Managing Team Highlights

Under Teams you will see the list of all your active teams.
Clicking on a team folder name will filter the Highlights, showing only those created and shared by that team.
Deleting and Editing Highlights
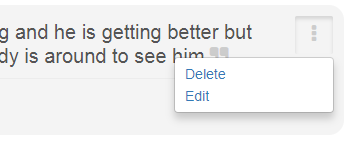
From the Highlights page, click on the menu located on the right hand side of a highlight. The options of “Delete” or “Edit” will be shown inside the menu.
Deleting a Highlight
Click on “Delete.” A confirmation message will appear. Click “Ok.”
The message will clear, and the highlight will be removed from your list.
Editing a Highlight
When you click on “Edit” in the menu, a modal will appear where you can change which folder the highlight is saved in. When you are satisfied with your change, click “Update Highlight.”

###