Using Groups
Students will have typically entered join code associated with their teacher’s group when they joined the team. The join code allows the site to approve their account, add them to the team, and add them to a specific group.
After students have joined the site, they can be assigned or unassigned from groups using either the menu located to the right of their names on either the Members Management or the Metrics page, or from a specific group’s edit page. Groups can be used to organize students based on classroom, teacher, subject, or graduation year. A student can be added to as many groups as needed.
Getting Started with Groups
One of the first things that coaches should try to do once they’ve join is follow any group of student that they will be monitoring from the metrics page. When you follow a group, the members of that group will be shown under the filter “My Members” on the metrics. The page is also set up so that you can filter for a specific group. Only the groups that you follow will appear in the filter menu.
Lead and Support coaches will also be sent reports showing the progress being made by the students in the groups that they follow.
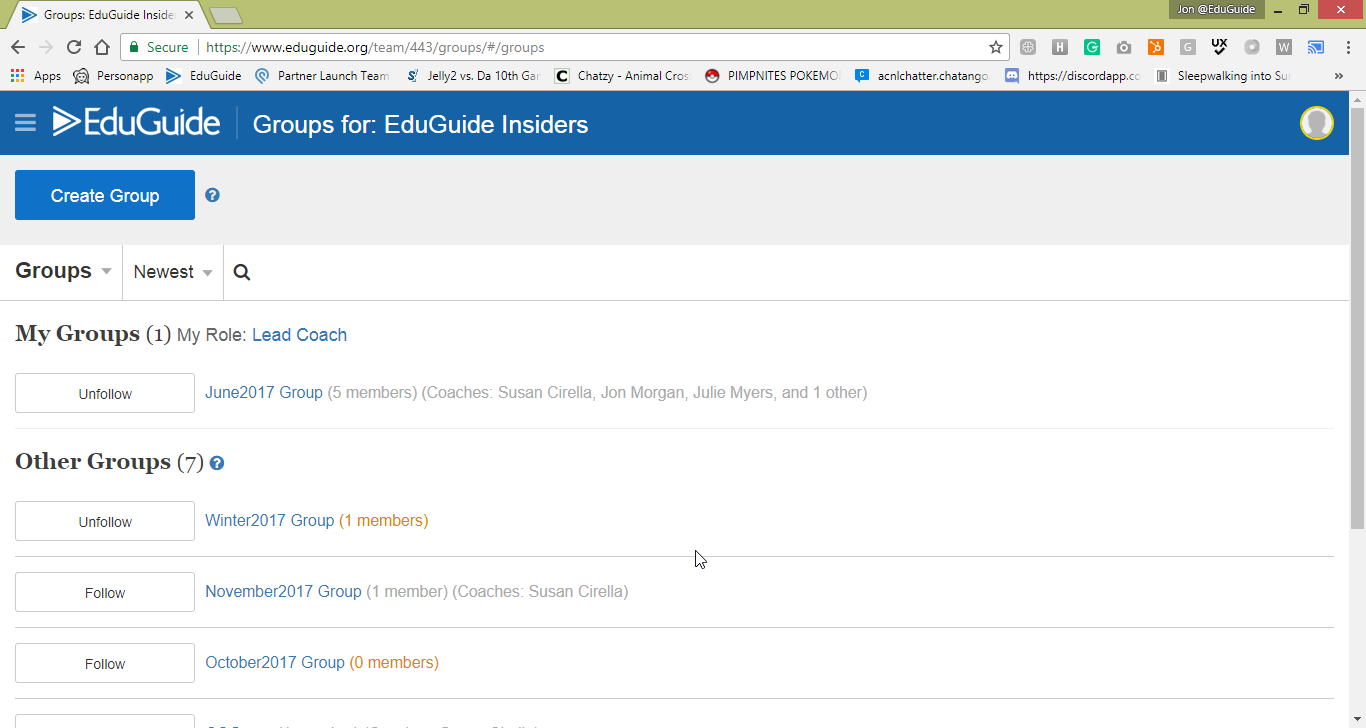
Group Management Page
Your group management page might appear different depending on your coach role on the site. Admin coaches will see a list of pending towards the top of the page. All groups will see sections labeled “My groups” and “Other Groups.” My groups is a list of the groups that you own or are currently following. Other groups contains a list of groups which you are not following.
Following a Group
To follow a group, click the button to the left of a group’s title labeled “Follow.” The button will change to “UnFollow.”
Inviting Students
Students can also be invited from the Group Management page. After Admin Coaches follow a group they will see the button’s label change to “Invite Members.” Clicking this button will take you to the group’s join code page, where you can find the join code and URL for that group. You would copy this information and share it with the students.

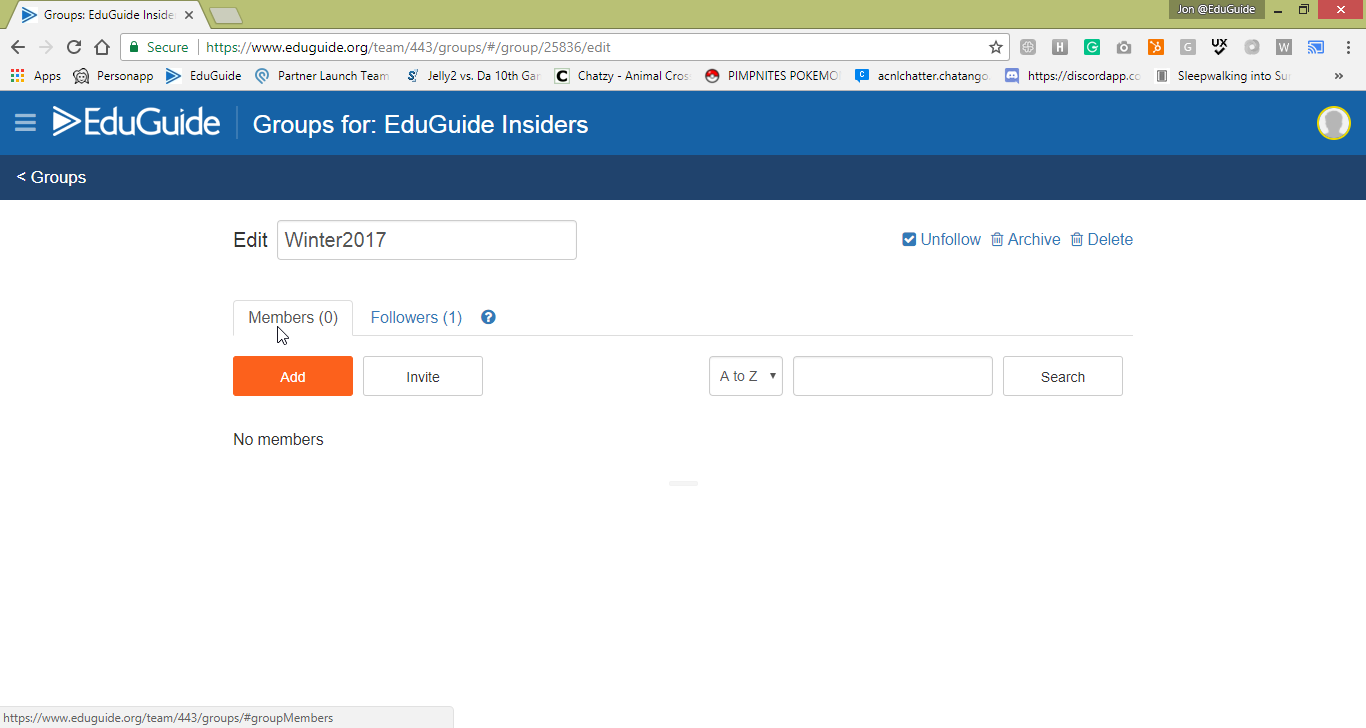
If you do not see the “Invite members” button after following a group you can also navigate to a group’s edit page and add students from there. To do this, click on a group’s name, then on that group’s edit page click “Invite.”
Invite Code Page
Every group that is created has an invite code. Coaches can look up the code by visiting the group’s invite code page, either from the group management page or from the group’s edit page.
The invite code page will contain three boxes. The first box displays the group’s join code with instructions on how to use it, and the second box displays the group’s join code. The third box directs you to the group’s edit page where you will be able to view and modify a list of current group members.
Member Management
Member management tools are available on any page where members are displayed. This includes the member management page, Group edit page, Metrics, and the team setup page.
To view more information for a member, click on the icon with three vertical dots located to the right of their name. From this menu you can navigate to their personal dashboard, change their membership settings, and view their email address.

Edit a user’s Membership
The Edit Membership page will show you an overview of a user’s membership status on the team. This includes any groups that they belong to, their login information, and their path subscription settings.
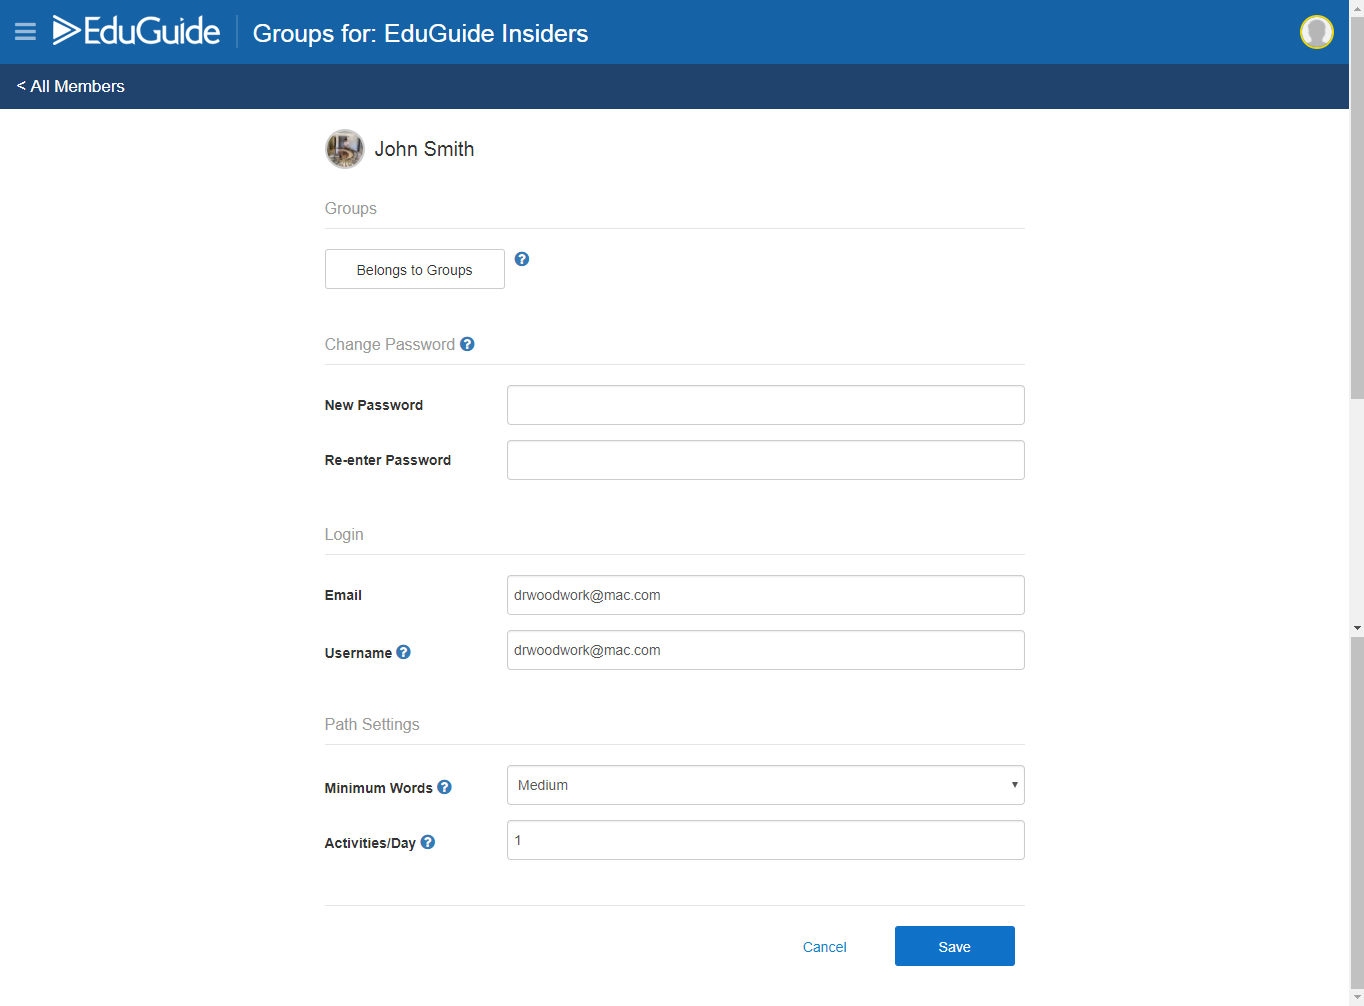
This page can come in handy if a coach needs to reset a student’s password, add or remove them from groups, or adjust their path subscription settings.